

Creating your own logic puzzle
Designing a Logic Puzzle: A Step-by-Step Guide
Logic puzzles are a satisfying and effective way to reinforce reasoning and deduction skills in the classroom. With minimal content and a structured approach, they can be created quickly and meaningfully. This guide outlines the key steps to building your own logic puzzle, from initial setup to clue creation.
1. Start with a Full Solution Table
Begin by constructing a complete table of the puzzle’s solution. Every element in a logic puzzle must be connected from the outset to ensure internal consistency. In this example, we use four books, each with three attributes: a title, a cover colour, and an author. Each combination should be unique.
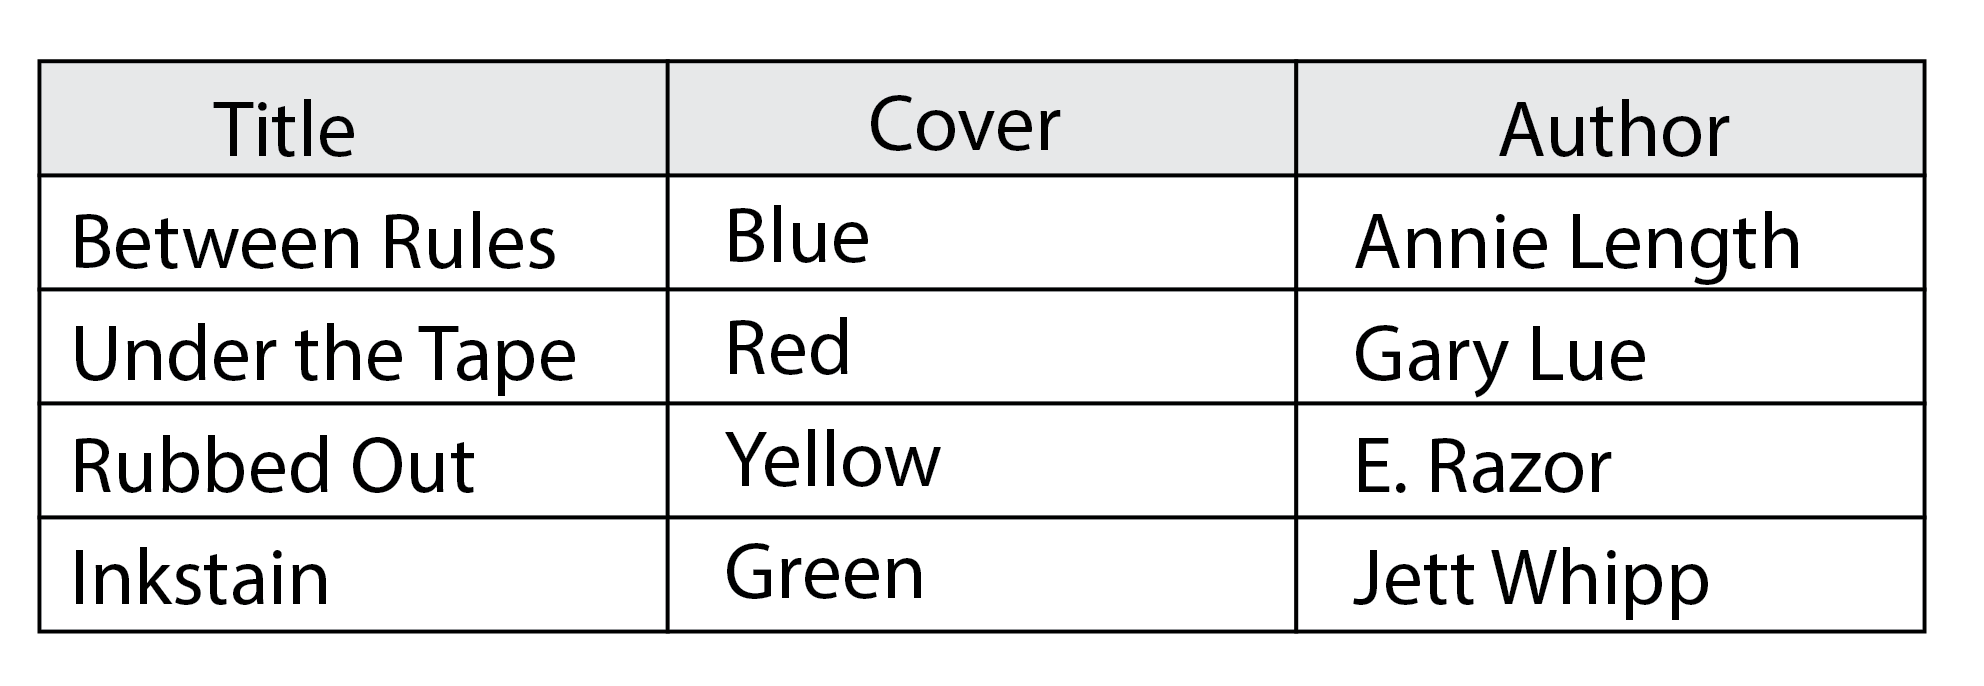
For example, you might determine that the book Between Rules has a blue cover and is written by Annie Length. This full answer grid becomes your foundation—what the solver will ultimately uncover.
2. Build the Logic Grid
Next, construct your logic grid—this is where solvers will record deductions. It’s typically composed of three sections (or quadrants), each comparing two of the three categories:
-
Author vs Title
-
Author vs Cover
-
Title vs Cover

Lay out the categories across the top and side of your grid. For clarity and ease of reference, alphabetise each category (e.g., titles, authors, colours) so patterns are easier to spot.
Each quadrant forms a 4×4 grid (assuming four items per category), resulting in 16 cells per quadrant. Since only one item in each category matches another, each quadrant should contain exactly four correct connections (represented by ticks or shaded cells), one per row and one per column.
In total, a fully completed grid will contain 12 ticks: four per quadrant.

3. Remove One Connection Per Quadrant
To create space for logical deduction, remove one confirmed tick from each quadrant. This provides a starting point for clue design. The missing connections should be logically inferable through process of elimination.
For example, if the colours blue, green, and yellow are already associated with three of the four authors, it logically follows that the remaining author must be linked with the unassigned colour—red.

4. Determine the Number of Clues Required
Once your grid is set, you can begin creating clues. Every remaining tick in your solution grid now requires a clue. With three quadrants and three confirmed connections per quadrant, you'll need a maximum of nine clues.
Clues can either:
-
Confirm a positive connection
e.g., "The book titled Between Rules has a blue cover." -
Eliminate an incorrect pairing
e.g., "The author of Between Rules did not write the book with the red cover."
Both forms are valid and help solvers gradually fill in the grid.
5. Present the Clues Creatively
Clues may be written as simple sentences, but for a more immersive experience, consider using:
-
Fragments of letters
-
Scraps of ephemera
-
Fake documents or labels
-
Real-world objects and artefacts
This elevates the puzzle beyond the worksheet and into a hands-on, narrative-driven experience.
6. Test the Puzzle
This step is critical. Number your clues and ensure that they can be used—and only those clues—to reach a full solution. Cross-reference each one with your completed grid to confirm that the puzzle is solvable.
Once tested and refined, your logic puzzle is ready to be introduced to learners, either as a standalone challenge or embedded within a wider narrative context such as an escape room or thematic unit.
---
'Cover Blown' is our very own immersive Logic Puzzle, supplied in a genuine Crime scene bag, and filled with replica cards, receipts, leaflets, invitations and ephemera.